Table of index (click to expand)
Introduction
Since online multiplayer gaming with DOSBox Staging is heavily dependent on multiplexing serial connections over Enet transport layer we're focusing on both on this page. Enet is a transport layer implemented on top of UDP that is robust and can even be used over mobile networks like the LTE while ensuring best effort FIFO (first in, first out).
Networking code in DOS and Windows 3.x games is often based on principle of circuit switched networks like telephone networks that offered high connection quality compared to packet switched networks like the internet we use today. These considerations make Enet almost obligatory for an enjoyable gaming experience over the internet.
Multiplayer
Preconditions for multiplayer gaming:
- Realtime communication outside of the game lobby for connection to be established for example through Discord, IRC, SMS, voice or face to face.
- One player participating in the game must have port forwarding enabled for a single incoming UDP port to facilitate the game to be hosted if they're behind a firewall. The host must also know their external IP address visible to the internet. The easiest way to figure this out is to search Google for
What's my IP.

The main program for configuring serial ports on DOSBox Staging is SERIAL.COM.
Host

Lets do a simple null modem based setup. We're running SERIAL.COM with parameters 1 which means COM1 serial port is used, nullmodem means null modem interface is used, port:1250 means we're listening on port 1250 and sock:1 means we're using Enet which is a UDP based transport.

Successful initialisation of Enet and null modem interface can be verified from DOSBox Staging console.
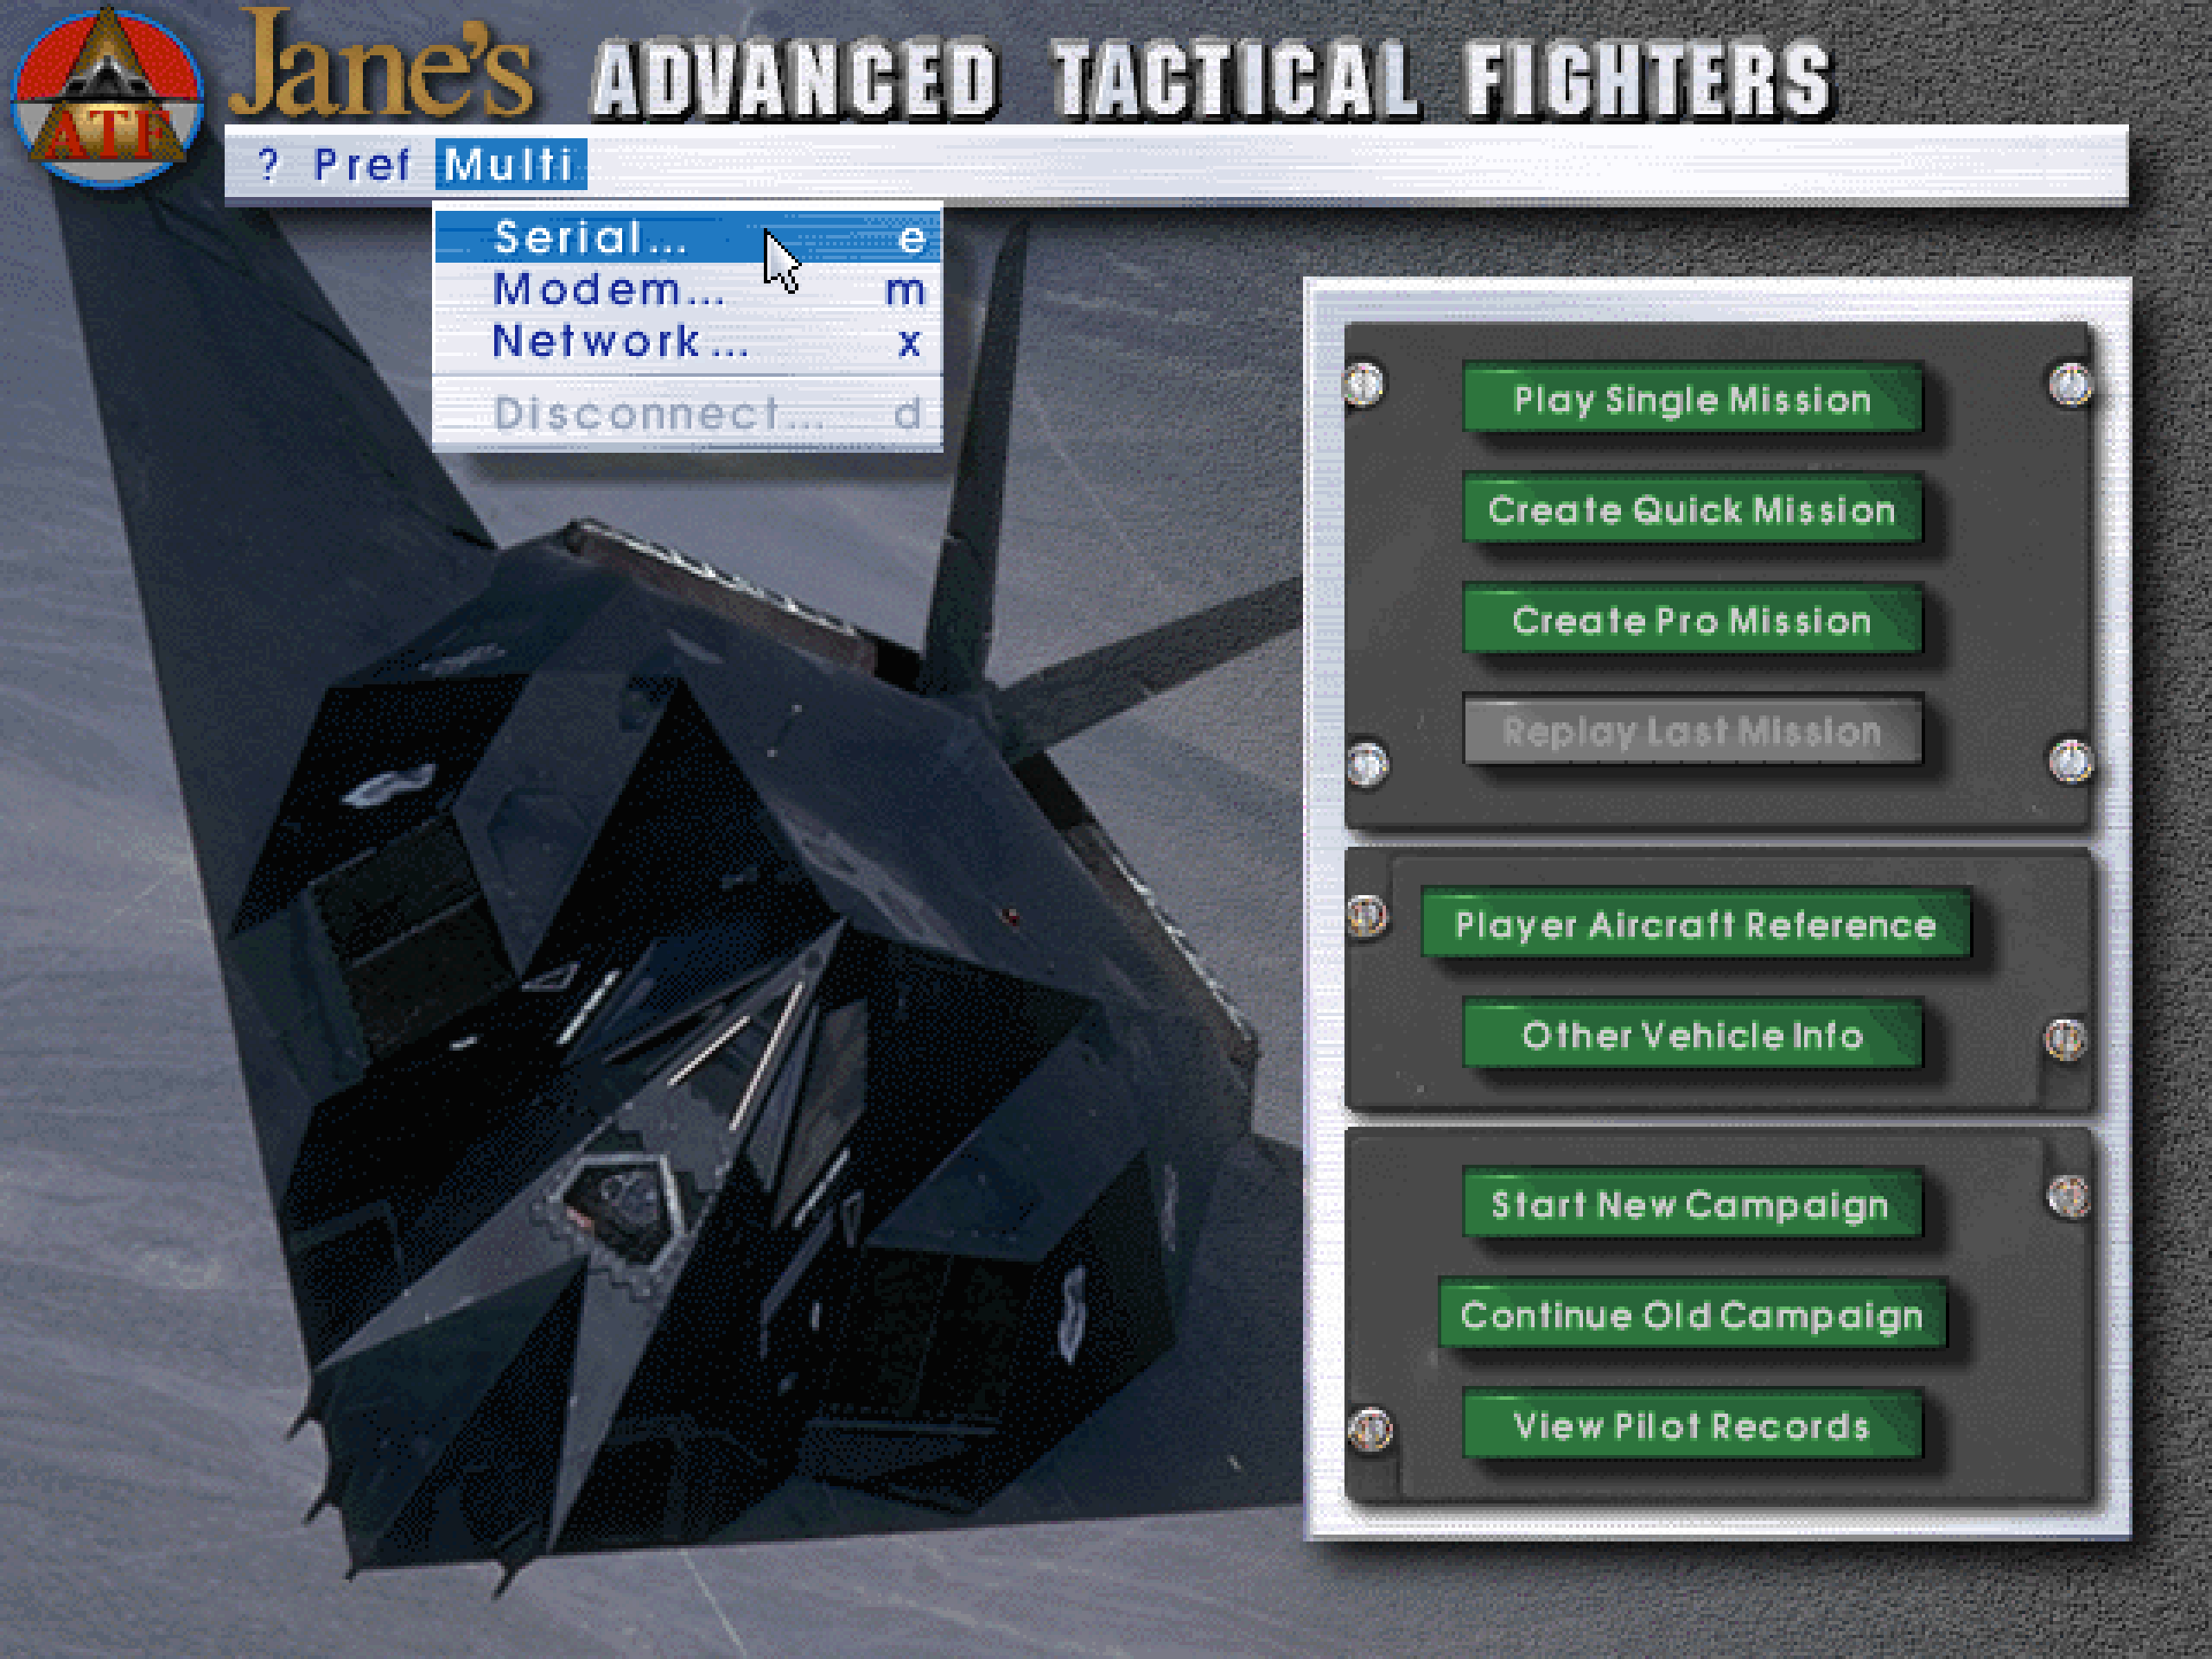
We're using Jane's ATF: Advanced Tactical Fighters as an example. Games usually indicate null modem interface as Serial so we select that. DOS era game multiplayer interfaces have wild variations in user interface and operating principles so its a good idea to refer to game manual for information on how to set it up according to your needs.
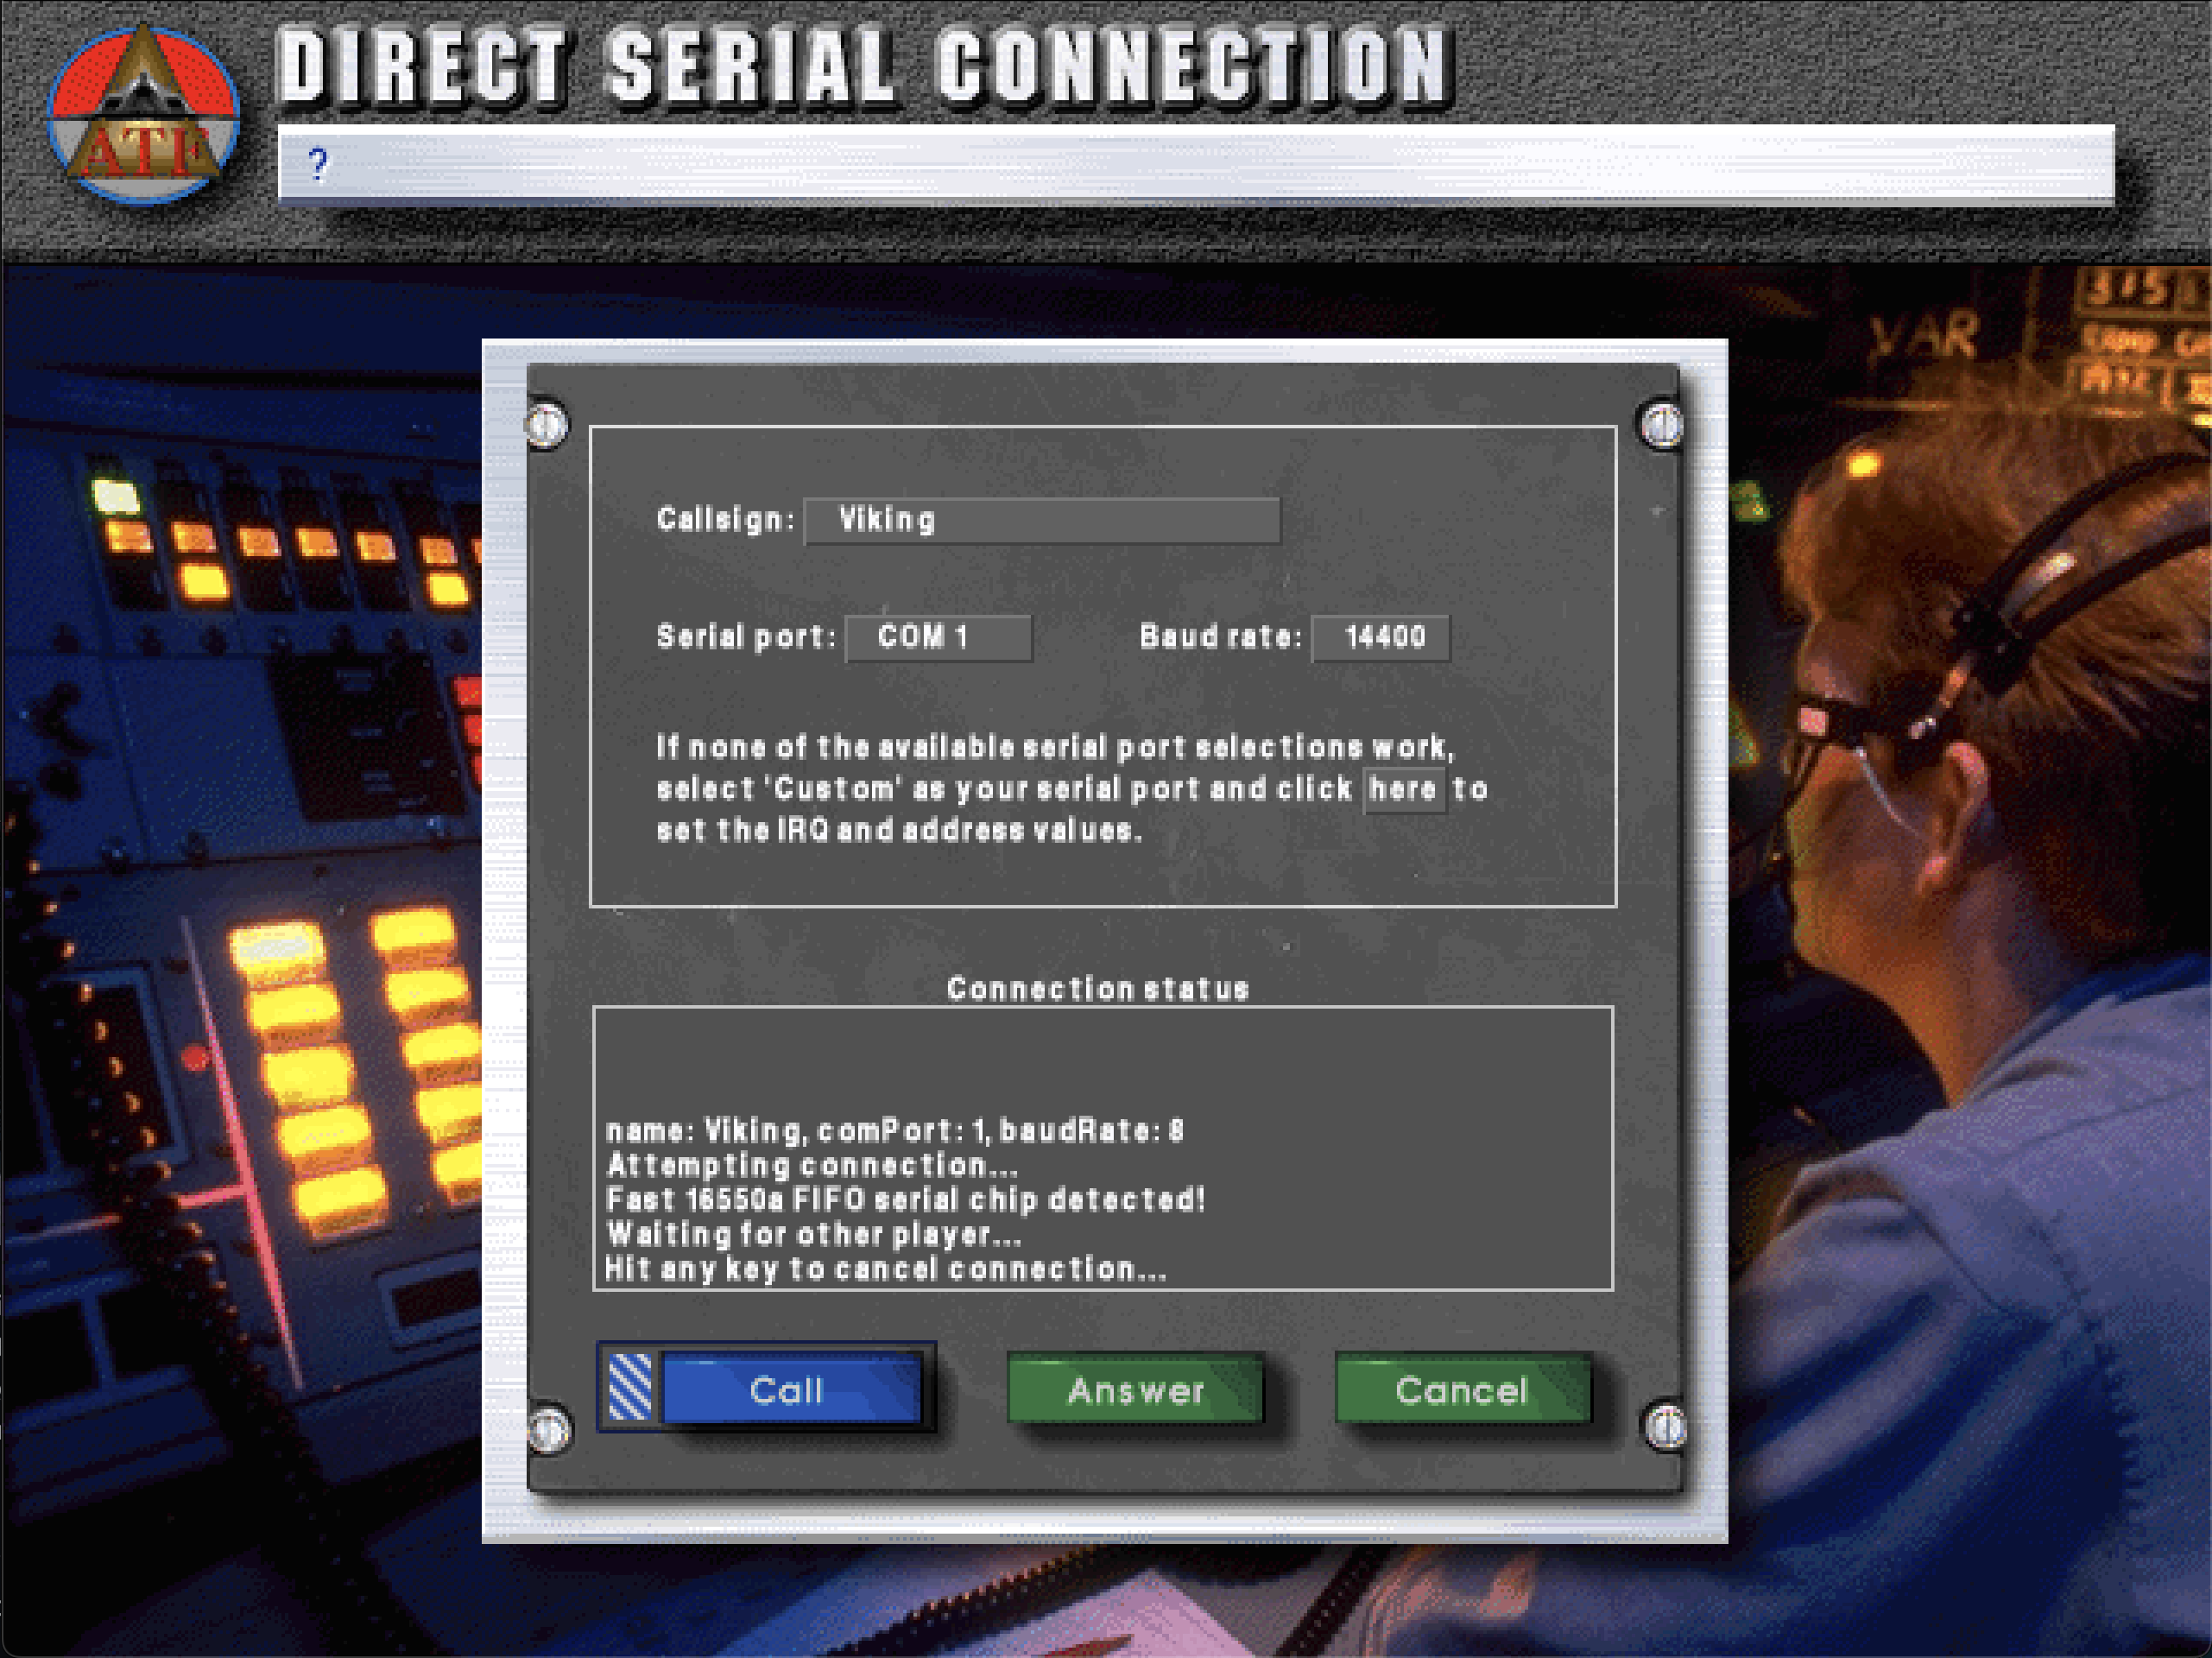
In this final screen before connection is established and players enter the game lobby its usually enough to select the correct serial port in this case COM1 and leave the rest of the settings alone. This avoids potential issues like baud rate mismatch between the UARTs.
Select Answer, wait for connection to be established or view DOSBox Staging console to verify if other players have established Enet transport layer session to your system and are just setting up the game themselves to connect to your host:

Client

Lets do a simple null modem based setup. We're running SERIAL.COM with parameters 1 which means COM1 serial port is used, nullmodem means null modem interface is used, server:<IP address> means we're connecting to a host with designated IP address, port:1250 means we're connecting to the host on port 1250 and sock:1 means we're using Enet which is a UDP based transport.
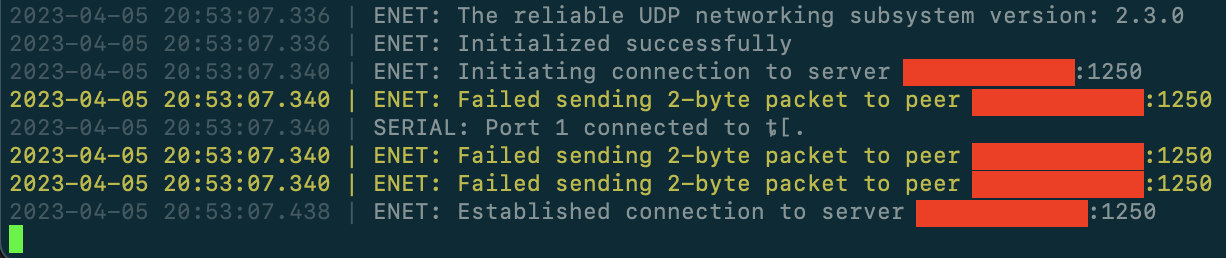
Successful initialisation of Enet and null modem interface can be verified from DOSBox Staging console. We've also successfully established Enet transport layer session to the host.
We're using Jane's ATF: Advanced Tactical Fighters as an example. Games usually indicate null modem interface as Serial so we select that. DOS era game multiplayer interfaces have wild variations in user interface and operating principles so its a good idea to refer to game manual for information on how to set it up according to your needs.
In this final screen before connection is established and players enter the game lobby its usually enough to select the correct serial port in this case COM1 and leave the rest of the settings alone. This avoids potential issues like baud rate mismatch between the UARTs. Select Call and wait for connection to be established.
Game specific fixes for multiplayer
Tyrian 2000 - GOG Release
The GOG Release of Tyrian 2000 does not initially include online multiplayer capability. Fortunately, this issue can be fixed by doing the following:
-
Open the game folder on your system for the GoG version of Tyrian 2000.
-
Download T2kMulti.zip containing the missing multiplayer files from the shareware version.
-
Extract ALL of the files from
T2kMulti.zipinto the Tyrian2000 game folder wheretyrian.exeis located. -
Launch Dosbox-Staging.
-
Type
ipx = trueand pressEnterto enable IPX emulation. -
Connect to another Dosbox-Staging via the IPX emulation:
-
For the IPX Server:
ipxnet startserver [UDP_Port]and pressEnter. -
OR
-
For the IPX Client:
ipxnet connect <IP_Address_of_IPX_Server> [UDP_Port_of_IPX_Server]and pressEnter.
-
Navigate to your Tyrian 2000 game folder and launch
multi.batto open the Epic Mega Games Arena and challenge the other connected player. -
In Tyrian 2000 itself, select the
Game Episodeyou both want to play,Game difficulty, thenStart Level.
Wacky Wheels
Wacky Wheels needs the Interbyte delay set to 1 in the Setup in order to work.
Serial ports
Serial ports can be configured in the config file:
serialX = device [parameter:value]
Or on the DOS command line:
serial X device [parameter:value]
device can be: direct | modem | nullmodem | mouse |dummy
parameters:
-
for direct:
irq,realport(required),rxdelay -
for modem:
irq,listenport,sock(all optional) -
for nullmodem:
irq,serverrxdelaytxdelaytelnetusedtrtransparentportinhsocketsock(all optional) -
for mouse:
irq,rate(NORMAL or SMOOTH),type(2BTN, 3BTN, WHEEL, MSM, 2BTN+MSM, 3BTN+MSM, or WHEEL+MSM) -
for dummy:
irq
Defaults
serial1=dummy
serial2=dummy
serial3=disabled
serial4=disabled
Default IRQs (COM1 to COM4): 4, 3, 4, 3
Base memory addresses (COM1 to COM4): 0x3f8, 0x2f8, 0x3e8, 0x2e8
Examples
An example of how to configure an actual serial port for I/O use (Windows, for dosbox-staging.conf):
serial1=direct realport:com1
Listen on TCP:1250 as server
SERIAL 1 NULLMODEM PORT:1250
Connect to TCP:1250 as client
SERIAL 2 NULLMODEM SERVER:10.0.0.6 PORT:1250
Listen on UDP:5000 as server
SERIAL 3 MODEM LISTENPORT:5000 SOCK:1
Use a physical port on Linux
SERIAL 4 DIRECT REALPORT:ttyUSB0
Mouse Systems mouse:
SERIAL 1 MOUSE TYPE:MSM
Linux permissions
By default on Linux systems, if you are wanting to use a real serial port in DOSBox Staging, you need to give your user the permission to open the serial port device, as that will not be permitted by default. The best way to address this is to add your user to the appropriate serial group. On most (all?) Linux systems, this group is called "dialout".
To validate the serial port permissions, run the following command:
$ ls -l /dev/ttyS0
crw-rw----. 1 root dialout 4, 64 Jun  6 13:30 /dev/ttyS0
In the above example, we listed the onboard serial port. The device name will be different for a USB serial device (typically /dev/ttyUSB0). As you can see, the "dialout" group has read and write permissions to the device, which is what our user needs.
So let us add our user to the "dialout" group:
sudo usermod -a -G dialout $USER
You can validate the change with the id -Gn command. You may need to logout or reboot for the changes to take effect.
Common Linux errors
In case of problems with using real serial ports, please check the DOSBox Staging LOG, by launching from the terminal. On success the LOG should contain a single SERIAL message such as:
SERIAL: Port 1 opening ttyS0.
But it may be followed by an error message:
SERIAL: Port 1 could not open "ttyS0" due to: System error XX
A few common errors:
- System error 2: the requested port does not exist
- System error 5: IO error
- System error 7: IO error
- System error 13: permission denied
For error code 5 or 7, check the following:
- Is the port not already in use by another process
- Is the port actually present on the system (the Linux serial driver always creates a number of dummy ttyS* serial ports, if they actually exist or not)
- Is the port enabled in the BIOS of the system
Nullmodem options
sock:1
- Setting to 1 enables enet on the port, otherwise TCP.
usedtr:1
- The nullmodem will
- when it is client connect to the server not immediately but as soon as a modem-aware application is started (DTR is switched on).
- only receive data when DTR is on.
transparent:1
-
don't add handshake control.
-
handshake control: if
transparentis 0 or default (and not overridden by another mode), dosbox will include flow control pin changes (DTR and RTS) in the sent nullmodem stream and interpret similar received signals as DSR and CTS pin changes. Also it can include "Line Control Break" signals [todo: when are these used?]
telnet:1
- interpret telnet commands.
rxdelay:
- How many milliseconds to wait before causing an overflow when the application is unresponsive.
- default:
rxdelay:50 - max value:
rxdelay:10000
txdelay:
- How many milliseconds to wait before sending data. This reduces network overhead quite a lot.
- default:
txdelay:12 - max value:
txdelay:500
port:
- port is for both server and client
- 1 to 65535
- default:
port:23
inhsocket:1
- socket inheritance (client-alike)
Nullmodem escape characters
Information for developers.
DOSBox's nullmodem stream inserts the DTR/CTS pin changes into the stream with a two-byte escape sequence. It does this unless unless transparent:1, or other modes such as telnet are used.
The protocol is not formally described and may change in future, but for developers who wish to connect to the nullmodem stream directly as it is, the escape sequences appear as follows:
- First byte: 0xFF
- Second byte: 0xFF — for a literal 0xFF
- or second byte: 0x00
- +1 for RTS high (sent with CTS pin)
- +2 for DTR high (sent with DSR pin)
- +4 for Line Control Break [todo: when is this used?]
TCP/IP
-
Open
dosbox-staging.confand verify that the settingne2000in the[ethernet]section is set totrue. -
Download http://www.brutman.com/mTCP/download/mTCP_2023-03-31.zip and http://www.georgpotthast.de/sioux/pktdrv/ne2000.zip to your system.
- Alternate links: mTCP_2023-03-31.zip and ne2000.zip
-
In your DOS game folder to be mounted as Dosbox-Staging's C drive, extract the contents of
mTCP_2023-03-31.zipinto a folder calledmtcp. -
Also, extract only the file
ne2000.comfromne2000.zipinto the samemtcpfolder. -
In
dosbox-staging.confin the[autoexec]section, add the following lines and save the file:
mount c c:\dosgames
c:
set path=c:\mtcp\
set mtcpcfg=c:\mtcp\samples\sample.cfg
ne2000.com 0x60 3 0x300
dhcp.exe
-
The lines above will mount your
c:\dosgamesfolder as Dosbox-Staging's C drive, change the current working directory to the mounted C drive, add themtcpfolder to yourPATH, specify DHCP settings fordhcp.exeto use to query the DHCP server, start the NE2000 packet driver (ne2000.com), and then run DHCP (dhcp.exe) to assign Dosbox-Staging an IP address. -
Of course, if your DOS games folder is not
c:\dosgames, replace it in the abovemountcommand with the actual location on your system.
- Open Dosbox-Staging. If all went well, the NE2000 packet driver will start and then DHCP will display the IP address at the Dosbox-Staging command prompt.
-
You will also be able to check internet connectivity by running
ping google.comfrom the Dosbox-Staging command prompt accordingly. -
Note: You might also need port-forwarding from the host into the Dosbox-Staging guest, and from your router to your host when acting as the server for multiplayer games. As a result, in the
[ethernet]section ofdosbox-staging.conf, make sure that you then configuretcp_port_forwards =and/orudp_port_forwards =with the relevant IP address port number(s) for the games you want to play. -
Portforward.com: How do I configure port forwarding on my router?
-
Portforward.com: Port forwarding instructions for specific routers sorted by manufacturer
See also
- serial port source code — dosbox-stage github
- Device Library: Simple IO cards, Modems — Vogons wiki