Table of contents (click to expand)
Introduction
Keymapper is a tool allowing you to bind keyboard keys to a game controller. A common use-case is to play some keyboard-only game with just a controller. But you can make use of that tool with any game. That way if you are using a frontend and/or play from a couch Keymapper allows for a more console-like experience. Start your favorite game, have fun all this without typing any command whatsoever or even touching a keyboard. No more joystick calibration process as well.
The main issue with Keymapper is that it can be daunting at first. DOSBox Staging's documentation explains in details how it works (check section 7). Yet some users may find it quicker/easier to rely on another method detailed hereafter. This page is intended to assist users to setup their games to work with controllers like Xbox 360/One/X/S or PlayStation DualShock/Sense.
DOSBox Staging now bundles preconfigured mapperfiles for many games that can be used as-is. Edit your game's config file to point to the relevant mapperfile and you are all set.
Note: feel free to participate by sharing your mapperfiles for other controllers or by improving the existing ones.
[Top]
Layouts
The below layouts are shared as references to ensure consistency across configurations.
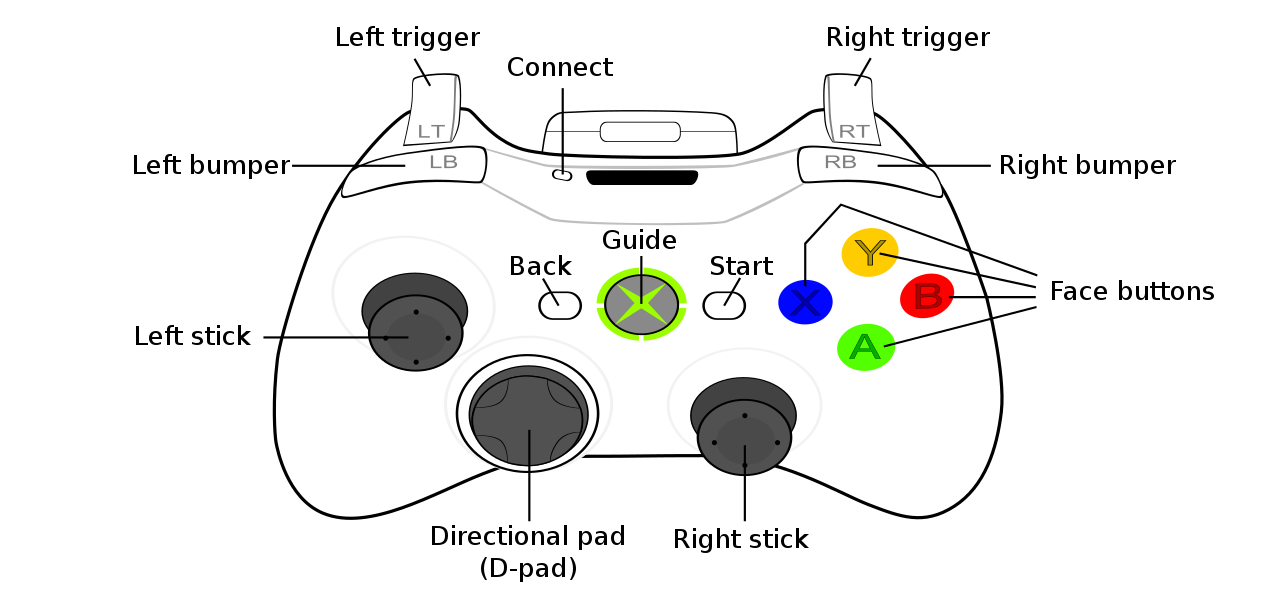
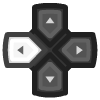
Xbox
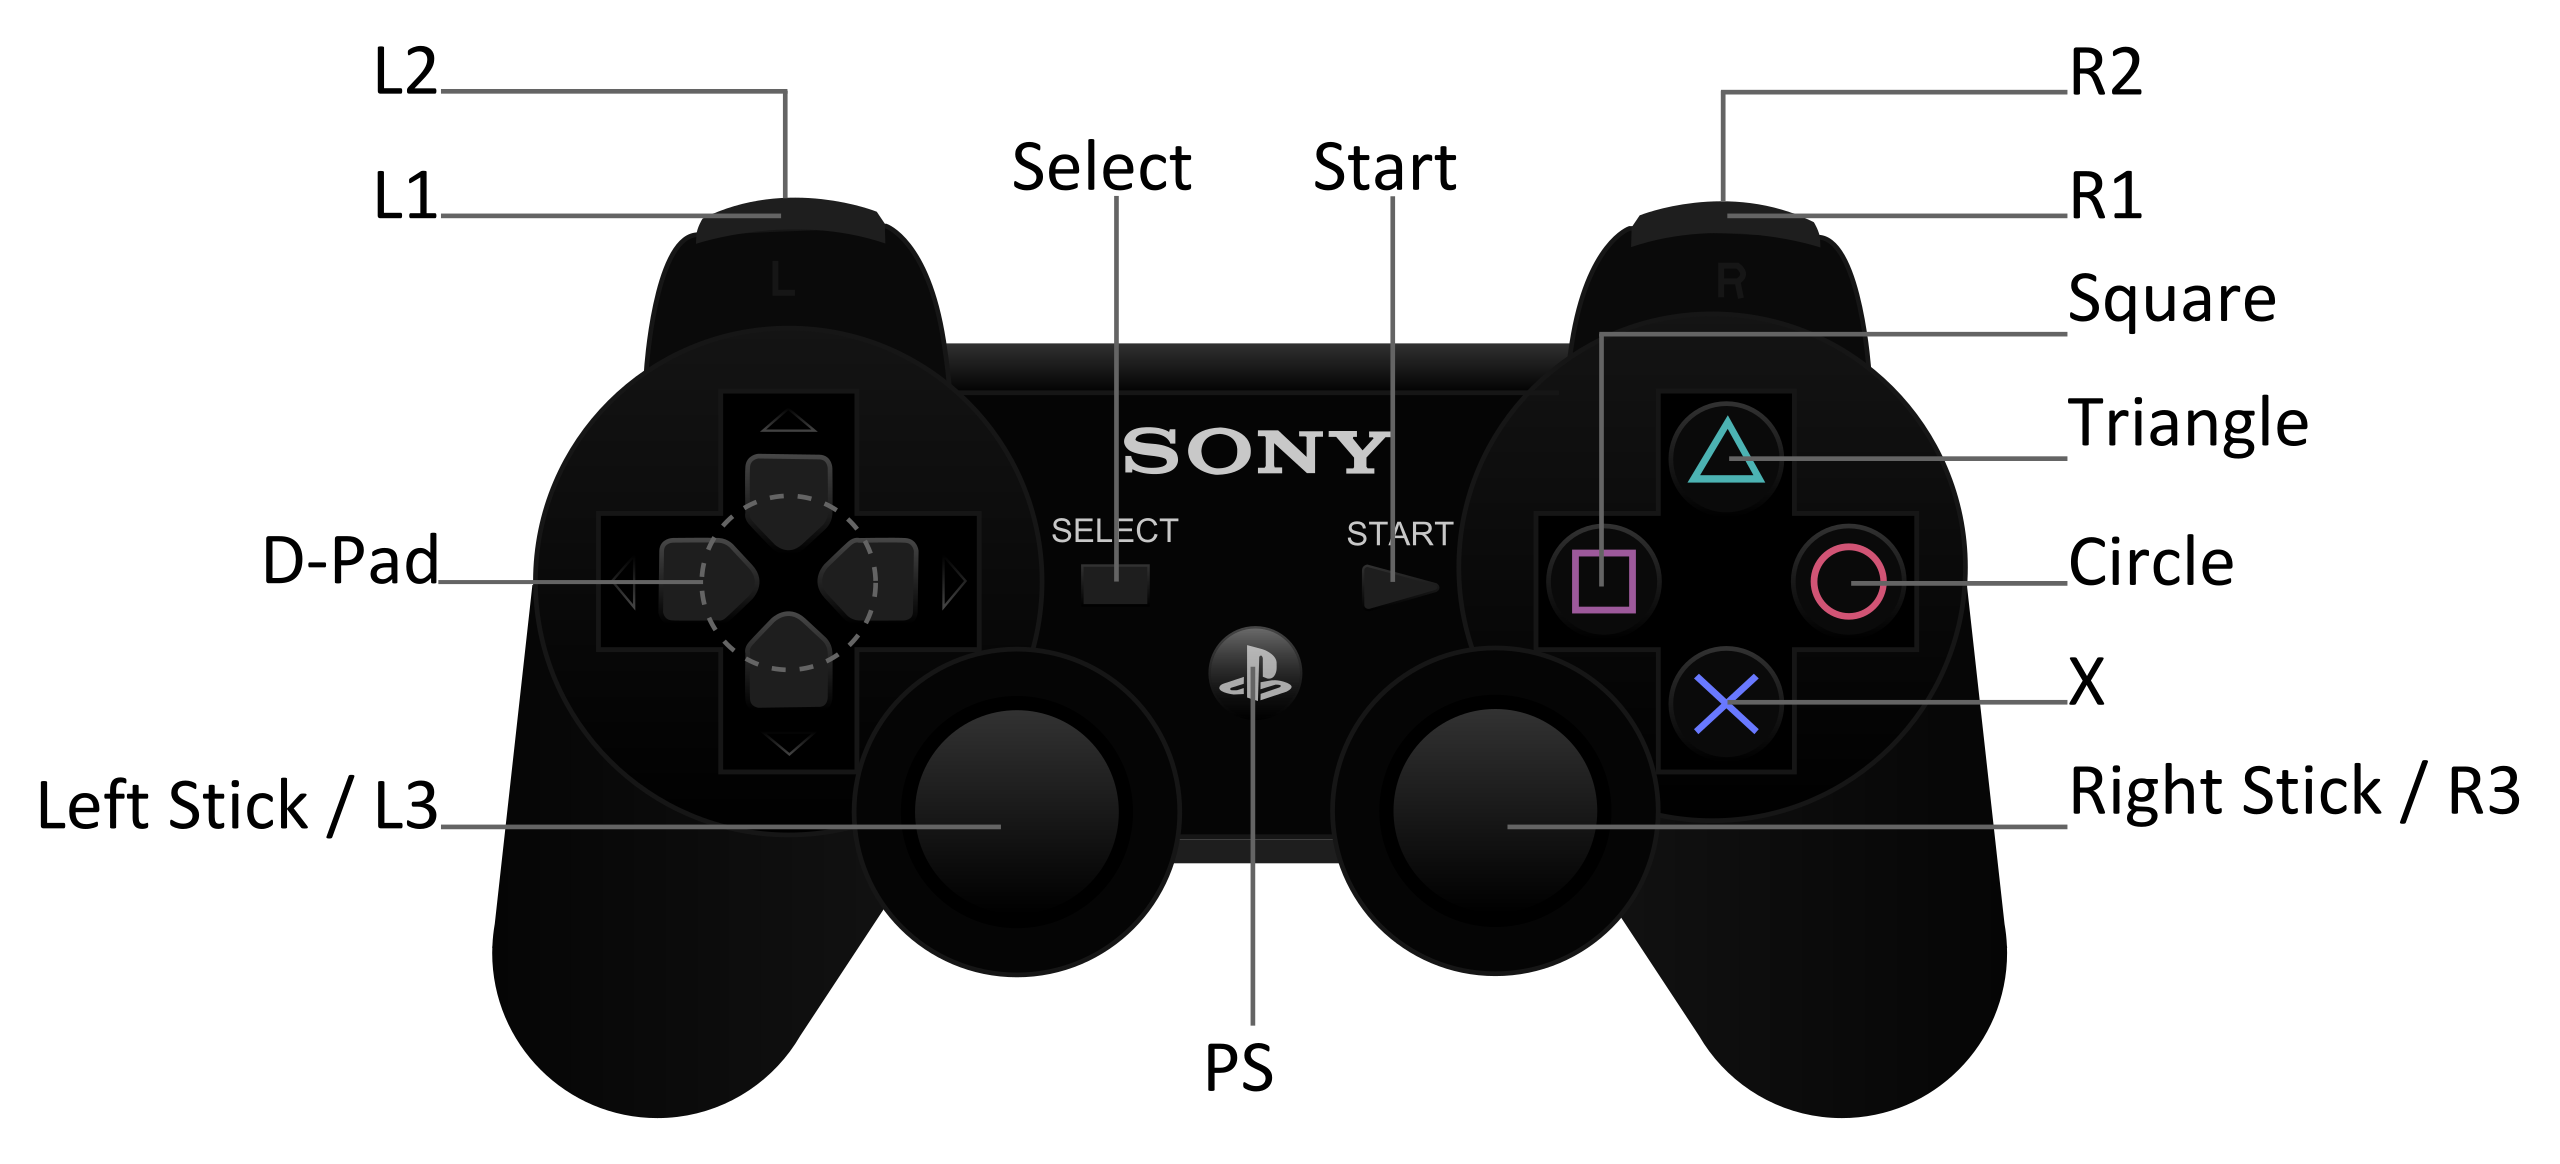
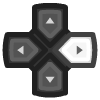
PlayStation
[Top]
Bindings
Keymapper is used to bind specific keys (or a combination of keys) to buttons of a controller. To keep track of the binding (or mapping) a mapperfile is created. Even if it's possible to assign everything from the Keymapper GUI some users will find it easier and quickier to edit mapperfiles directly. Keep in mind that only keys can be bound to a controller. Mouse events/buttons can NOT be mapped.
Template
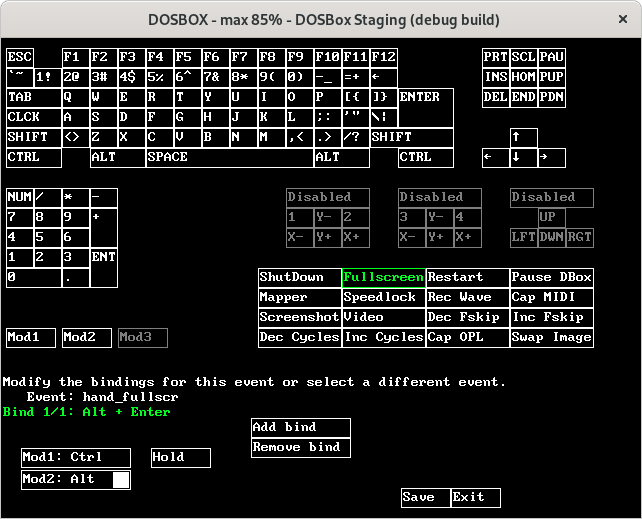
First you need to generate a template mapperfile. Open Keymapper GUI while running DOSBox Staging by pressing Ctrl+F1 (Cmd+F1 on MacOS) and click on the Save button. By default the template will be saved beside the global config file (dosbox-staging.conf). Users may store that mapperfile at any other location by changing the mapperfile = parameter from the global config file. For instance:
[sdl]
mapperfile = /path/to/mapper.map
Simple bindings
You can open a mapperfile with any text editor. Format is straightforward as it's simply a matter of assigning a key (left column) to a button (far right column). For instance to bind the Select button of the (first) Xbox controller to the esc key find and edit the line:
key_esc "key 41" "stick_0 button 6"
Button combinations
It's possible to define combination of buttons to act as if two keys are being pressed together. In the example below, the combination Select+Start will act as if Ctrl+F9 are pressed making DOSBox Staging to close immediately (hand_shutdown event).
- Define a Modifier first. Select in our case. Modifiers are keys having to be pressed while pressing another to trigger an event.
mod_3 "stick_0 button 6"
- Then let's bind Start to be pressed altogether with Select to trigger the
hand_shutdownevent:
hand_shutdown "key 66 mod1" "stick_0 button 7 mod3"
Keymapper allows you to map multiple keys to one button on the same controller. This is useful if you wish to use one button in the menus and in-game even though you would use different keys on the keyboard. For instance you may decide to bind enter and the y keys to the Start button of a controller. Pressing Start in-game will then allow you to select items in menus and to answer Yes whenever asked if you really want to quit the game. Be careful while doing so as binding too many keys to the same button could lead to unexpected results!
Finding button references
In order to properly edit the mapperfiles users will have to find the buttons/axes references assigned by their OS to their controller. On GNU/Linux the jstest utility will come in very handy. The below example shows a system using a Xbox wireless (BlueTooth) controller with the xpadneo driver.
If user presses the Select button a new line is appended showing it corresponds to button 6.
$ jstest /dev/input/js0
Driver version is 2.1.0.
Joystick (Xbox Wireless Controller) has 9 axes (X, Y, Z, Rx, Ry, Rz, Hat0X, Hat0Y, (null))
and 15 buttons (BtnA, BtnB, BtnX, BtnY, BtnTL, BtnTR, BtnSelect, BtnStart, BtnMode, BtnThumbL, BtnThumbR, (null), (null), (null), (null)).
Testing ... (interrupt to exit)
Axes:  0:   936  1:     0  2:-32767  3:     0  4:     0  5:-32767  6:     0  7:     0  8:     0 Buttons:  0:off  1:off  2:off  3:off  4:off  5:off
6:off  7:off  8:off  9:off 10:off 11:off 12:off 13:off 14:off
Axes:  0:   936  1:     0  2:-32767  3:     0  4:     0  5:-32767  6:     0  7:     0  8:     0 Buttons:  0:off  1:off  2:off  3:off  4:off  5:off
**6:on**  7:off  8:off  9:off 10:off 11:off 12:off 13:off 14:off
Controller bindings
Provided as reference and to help users using same OS/controller to edit their mapperfiles. If you are using the same controller you shouldn't have to go through running the jstest utility mentioned above. Also useful to ensure users are all talking about the same buttons/names.
Please understand the following bindings listed here are subject to change depending on your OS/driver/controller versions.
Xbox bindings (click to expand)
| Button |  |
 |
 |
 |
|---|---|---|---|---|
| Name | D-pad Up | D-pad Down | D-pad Left | D-pad Right |
| Binding | stick_0 hat 0 1 |
stick_0 hat 0 4 |
stick_0 hat 0 8 |
stick_0 hat 0 2 |
| Button |  |
 |
 |
 |
|---|---|---|---|---|
| Name | Left Stick Up | Left Stick Down | Left Stick Left | Left Stick Right |
| Binding | stick_0 axis 1 0 |
stick_0 axis 1 1 |
stick_0 axis 0 0 |
stick_0 axis 0 1 |
| Button |  |
 |
 |
 |
|---|---|---|---|---|
| Name | Right Stick Up | Right Stick Down | Right Stick Left | Right Stick Right |
| Binding | stick_0 axis 4 0 |
stick_0 axis 4 1 |
stick_0 axis 3 0 |
stick_0 axis 3 1 |
| Button |  |
 |
 |
|---|---|---|---|
| Name | Back/Select/View | Start/Menu | Guide/Xbox |
| Binding | stick_0 button 6 |
stick_0 button 7 |
stick_0 button 8 |
| Button |  |
 |
 |
 |
|---|---|---|---|---|
| Name | A | B | X | Y |
| Binding | stick_0 button 0 |
stick_0 button 1 |
stick_0 button 2 |
stick_0 button 3 |
| Button |  |
 |
 |
 |
|---|---|---|---|---|
| Name | L1/Left Bumper | R1/Right Bumper | L2/Left Trigger | R2/Right Trigger |
| Binding | stick_0 button 4 |
stick_0 button 5 |
stick_0 axis 2 2 |
stick_0 axis 5 2 |
| Button |  |
 |
|---|---|---|
| Name | L3/Left Stick button | R3/Right Stick button |
| Binding | stick_0 button 9 |
stick_0 button 10 |
[Top]
Configuration
Provided user does have a mapperfile ready or willing to try one of the many mapperfiles bundled with DOSBox Staging (check under the resources directory) the next step is to edit a couple of config files. Objective here is to make DOS to believe user presses keys where in fact those come from a controller. No longer need to go through any joystick calibration process whatsoever!
To ensure this DOSBox Staging does have a very useful parameter. It allows to hide your controller from DOS. That way games see no joystick plugged in yet users are still able to use their controller. From the game's standpoint it's like user presses keys on a keyboard.
Note: to organize your files it's best to follow the convention described in Config file examples and FAQ sections of this Wiki however it's not a requirement.
- Make sure your game is configured to use no joystick at all. Select keyboard only whenever you can.
- Edit your global config file (
dosbox-staging.conf) to hide your controller:
[joystick]
joysticktype = hidden
- Edit your
<game>.confto point to a preconfigured mapperfile:
[sdl]
mapperfile = xbox/<game>.map
capture_mouse = nomouse
Note #1: you can point to any absolute path as well. Just go with mapperfile = /path/to/<game>.map instead to point to your own file.
Note #2: mouse is completely disabled as per item 3 above. This to be sure there is no issue with the (left) analog stick of some controllers which acts as mouse in some cases. Problem is - as of typing - using the analog stick as mouse could have unexpected results (eg. mouse cursor going haywire). A majority of games don't require any mouse whatsoever yet if a game still requires mouse for in-game menus (eg. Actua Soccer) there's no choice but to remove the above line (capture_mouse = nomouse). Then be careful not to touch the analog stick during the game. The mapperfiles provided take care of this case by assigning keys to the D-Pad only and nothing to the left analog stick.
[Top]
Preconfigured mapperfiles
DOSBox Staging comes with preconfigured mapperfiles under the resources directory. The same files can be obtained from the archives below. All you have to do is to edit your game's config file accordingly. Even if you don't have the same controller those files could serve as references to check which keys are used by a specific game. Therefore no need to refer to the game's manual.
- GNU/Linux + Xbox controller: xbox_maps.zip
Note #1: preconfigured mapperfiles all come with the Select+Start combo bound to Ctrl+F9. By pressing those two buttons altogether users will close DOSBox Staging immediately. This is useful in case of crashes or simply when there's no Quit Game menu option.
Note #2: preconfigured mapperfiles all come with Select bound to esc and Start bound to enter. Also L3 or R3 are usually bound to the letter y. This is useful whenever a game requests a confirmation to quit (eg. Hexen).
Example
Let's play DOOM with a controller. Given the preconfigured mapperfile is bundled with DOSBox Staging as doom.map (found in the resources directory) let's ensure the following parameters are set.
Note: to organize your files it's best to follow the convention described in Config file examples and FAQ sections of this Wiki however it's not a requirement.
- Global config file (
dosbox-staging.conf):
[joystick]
joysticktype = hidden
doom.conf:
[sdl]
mapperfile = xbox/doom.map
capture_mouse = nomouse
You will now be able to enjoy DOOM with a Xbox controller! Here is the binding:
| Action | Key Command | Xbox Controller | Button id |
|---|---|---|---|
| Movement | Arrow Keys | Left Stick | axis 0/1 |
| Strafe Left | , (comma) | L1/Left Bumper | button 4 |
| Strafe Right | . (period) | L2/Right Bumper | button 5 |
| Run/Fast Turn | Right Shift | R2/Right Trigger | axis 5 2 |
| Fire weapon | Ctrl | A | button 0 |
| Open doors | Space Bar | B | button 1 |
| Overhead Map | Tab | L2/Left Trigger | axis 2 2 |
| Fist | 1 | D-pad Up | hat 0 1 |
| Pistol | 2 | D-pad Left | hat 0 8 |
| Shotgun | 3 | D-pad Down | hat 0 4 |
| Chaingun | 4 | D-pad Right | hat 0 2 |
| Rocket Launcher | 5 | Right Stick Up | axis 4 0 |
| Plasma Rifle | 6 | Right Stick Left | axis 3 0 |
| BFG 9000 | 7 | Right Stick Down | axis 4 1 |
| Main Menu | Esc | Back/Select/View | button 6 |
| Select Menu Item | Enter | Start/Menu | button 7 |
| Yes (to exit game) | y | L3 | button 9 |
[Top]